Image tool · one button, no brush
Remove People from Photos
Upload a photo with strangers in the background, press Generate, and get it back with only your subject left.
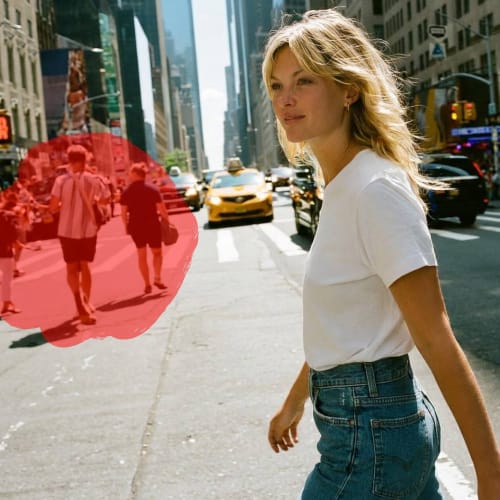
Remove People clears tourists, passersby and photobombers out of the background of a photo while keeping the person or thing you meant to shoot. There is nothing to draw and nothing to type. You upload the photo, press Generate, and the tool sends Nano Banana 2 a fixed instruction: remove all people from the background and keep the main subject intact. The model works out who the main subject is and rebuilds the space where the others stood from the scene around them, such as pavement, sand, a crowd barrier or a museum wall. That automatic choice is the tradeoff. If you want one particular person gone, or the subject is a group and only some of them should stay, use Erase instead and brush over exactly what should go. It is AI, so the filled background is a plausible guess rather than what was really behind the crowd, and the rest of the photo can shift slightly as the model redraws it.
Examples
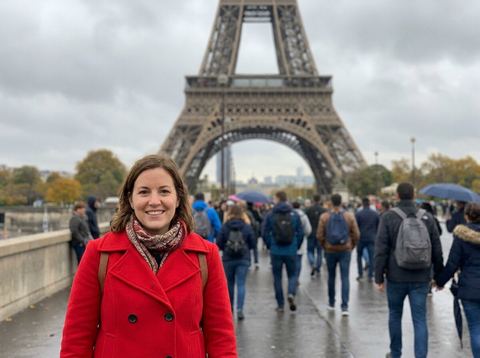
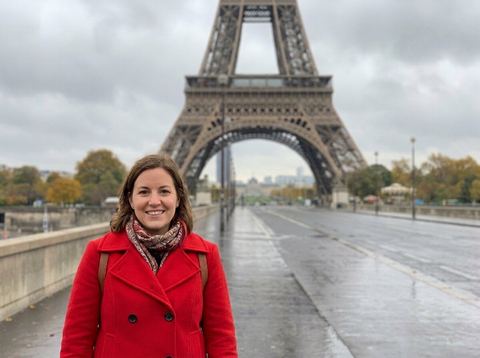
“Removed the people in the background”
Try it on your own photo ↑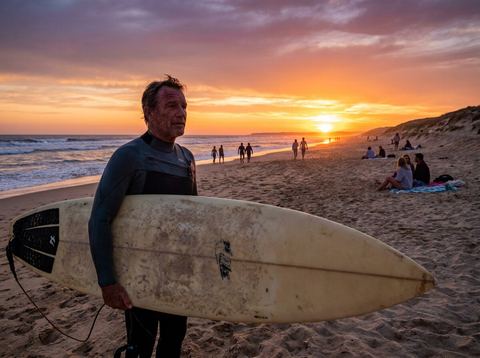
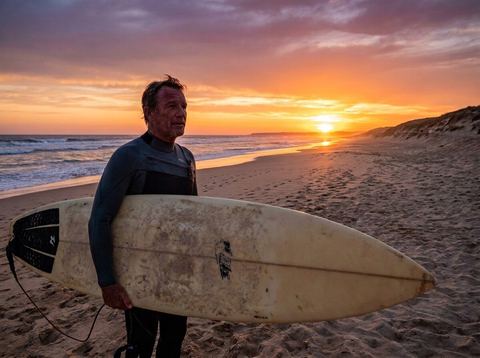
“Removed the people in the background”
Try it on your own photo ↑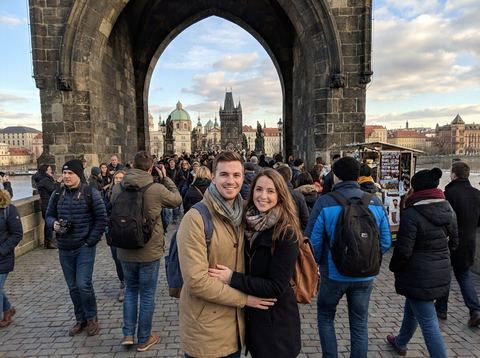
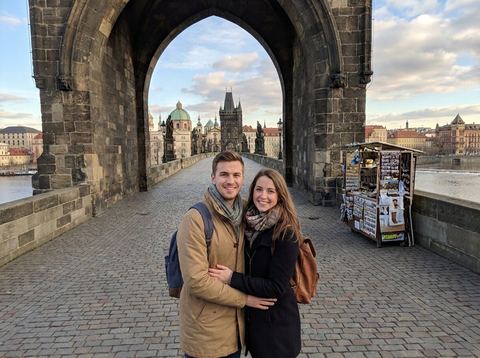
“Removed the people in the background”
Try it on your own photo ↑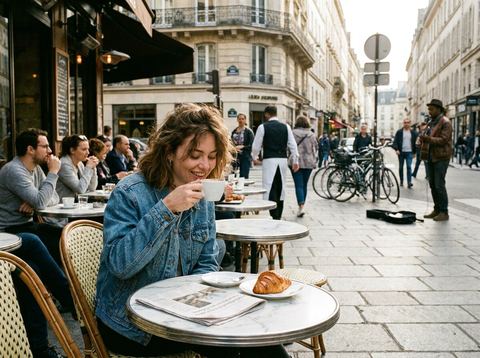
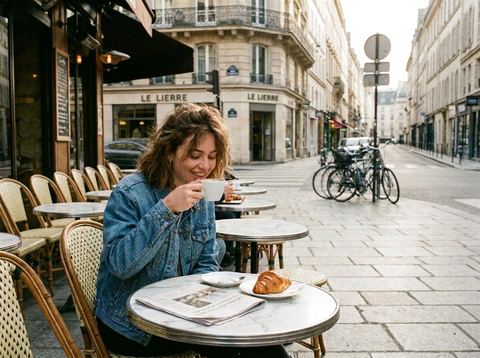
“Removed the people in the background”
Try it on your own photo ↑Why this image tool
No mask, no prompt
The only input is the photo. The instruction to clear background people and keep the main subject is built in, which makes it quick for a batch of travel shots where you would otherwise brush around every stranger.
Keeps the main subject
The model is told to leave the main subject intact, so the person posing in front of the landmark stays while the people behind them are removed and the background is filled in.
Results land in History
After you press Generate you move to the image workspace, where the result appears in History. From there you can download it, run it again for a different fill, or send the image on to Erase or Upscale.
How it works
- 1
Upload the photo
Drop a photo onto the upload card or click to choose one. Signed in, you can also pick an earlier image from the rail on the left. Photos where your subject is clearly in front of the crowd work best.
- 2
Press Generate
The price shows on the Generate button. Sign in if asked. The photo uploads and you move to the image workspace, where the job runs in History.
- 3
Check the edges and the subject
Look at where people were removed, especially near your subject's outline and at the edges of the frame. If someone is still there or a patch looks smeared, run it again or finish the spot with Erase.
Who it's for
For travel photos
Clear the tour group from behind you at a landmark, a busy beach or a city square, so the shot looks like you had the place to yourself.
For portraits and events
Take wedding guests, waiters or a stranger walking past out of the background of a portrait, while the couple or the person you photographed stays as shot.
For listings and product shots
Remove shoppers or staff from a photo of a storefront, a venue or a product on display, so the place or the item is what people notice.
More to try



Frequently asked questions
How does it decide who to keep?
The model is asked to keep the main subject and remove the people in the background, and it judges which is which from the photo. A person in focus near the front is usually treated as the subject. If it guesses wrong, use Erase and brush over the people you want removed.
Can I remove one specific person?
Not with this tool, since it removes background people as a group. Erase lets you paint over exactly the person you want gone, their shadow included, and fills that area from the scene around it.
What does it put where the people were?
It continues the background: the floor, the street, the water, the wall. That fill is generated, so it may not match what was actually behind the crowd, and large crowds in front of detailed backgrounds are the hardest case.
Does it change the rest of the photo?
The model redraws the image, so small details outside the removed areas can shift. Compare the result with your original, especially your subject's face and hands, before you use it.
Do I need an account?
Yes, you need to be signed in before it runs. The price for one run shows on the Generate button before you press it.
Try it on your own photo
Pay only for what you generate. The price shows on the button before you start.
Upload a photo